


Your RV is an expensive investment for you and your family’s enjoyment during the Spring, Summer, and Fall camping seasons. However, there comes that dreaded day when you have to put your travel trailer or fifth wheel into hibernation for the winter. To do it right, you’ll need to follow certain steps to winterize and prepare your fifth wheel or travel trailer for storage. If you’re new at it or just need a little organized direction, we’ve put together Basic RV Winterization Tips checklists so you don’t miss anything.
Interior Care
First, you’ll want to conduct a thorough cleaning of your fifth wheel or travel trailer’s interior:
- Turn off your refrigerator and freezer; remove all food and contents.
- Clean all surfaces inside the refrigerator; drawers, shelves, racks with mild soap and water. Install a blocker to keep the door from closing entirely. Put a box of charcoal briquets in a bowl inside the refrigerator to absorb odors and moisture.
- Remove all the grit and grime that may have accumulated throughout the camping season in every crack, crevice, and corner; including those hard to reach places.
- Make sure you remove anything that pests may see as a food source.
- Wipe down and disinfect all kitchen countertops and inside all cabinets.
- Sweep all bare floors and damp mop with disinfecting hot water solution.
Before buttoning your Heartland up for storage, sprinkle a little baking soda on the carpets to absorb odors. Allow it to sit for a couple of hours. Vacuum it up along with those odors right before leaving.
Place multiple desiccant dehumidifiers or moisture absorbers throughout the inside of your RV; in interior closets, cabinets, under the bed, and in the corners.
Also, place anti-pest devices in all spaces including the basement and behind the basement wall to keep bugs, mice, ants, etc. from taking over your RV during your absence. No one wants to open their RV after winter storage to find it has been the home or “party central” for mice and whatever else would want to have a heyday in your prized travel trailer or fifth wheel.
You can read further about How to Speed Clean your RV Interior.
TIP: Put a couple drops of Peppermint Essential Oil on some cotton balls and place inside cargo compartments, under the bed and inside all cabinets and drawers. This will help deter spiders and bugs.
Exterior Care
Part of RV winterization is making certain it’s exterior is protected from the weather and atmospheric conditions. Here are a couple simple suggestions:
- Thoroughly wash and wax the exterior of your travel trailer or fifth wheel to remove road grime and dirt streaks from the exterior walls and roof.
- Open up your awnings, clean and allow to thoroughly dry before rolling up for storage.
- Scrub your tires, rims, and all-wheel components. Inspect for cracks or defaults.
- Protect your tires from the damage of UV rays by covering them with tire covers. Also, place a board or barrier between the tires and ground if your RV is being stored for a lengthy period of time.
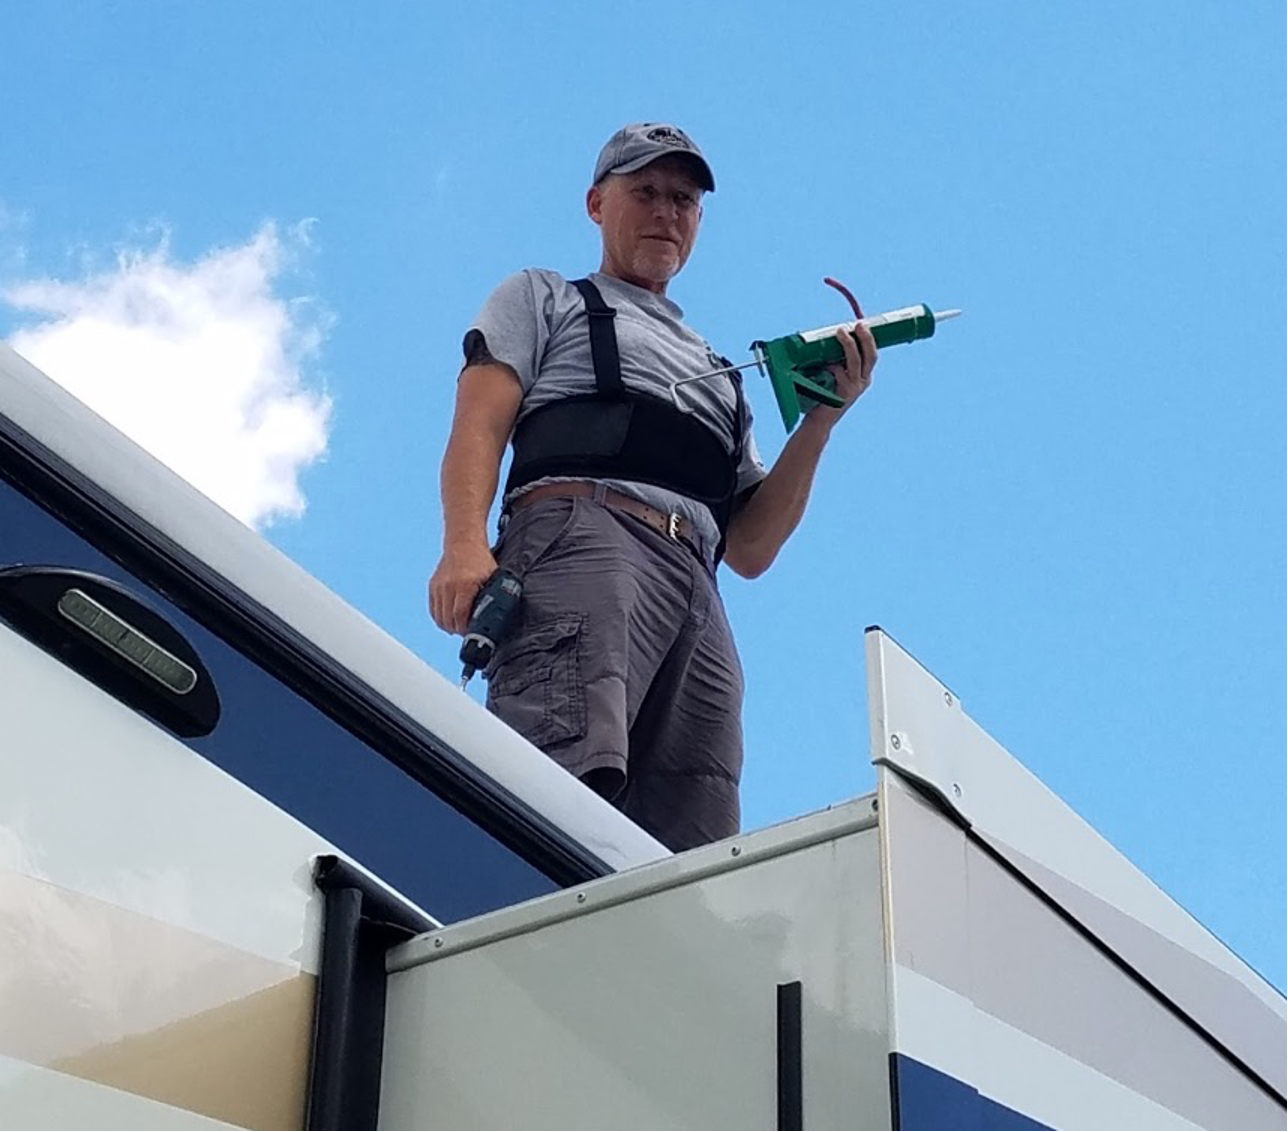
Also, this is a great time to inspect all surfaces and check the condition of all seals and caulking; including your roof. If you notice any caulk cracking, peeling or lifting, you’ll need to repair it immediately. We recommend cleaning and protecting your RV’s seals with 303 Protectant. Clean the windows inside and out while inspecting for cracks and ensuring the gaskets are in serviceable condition. Lube the gaskets with the same protectant. Again, make certain all caulking around windows has not degraded.
Check out our RV Maintenance Tip: RV Roof Inspection and Maintenance for more information.
Water System
Another step in your RV winterization is you must prepare your RV’s water system for colder temperatures. We all know that your travel trailer’s or fifth wheel’s water system is a primary concern for potential damage to your travel trailer or fifth wheel if not winterized properly. You will need to completely drain your RV’s fresh water tank, as well as your gray and black water tanks.
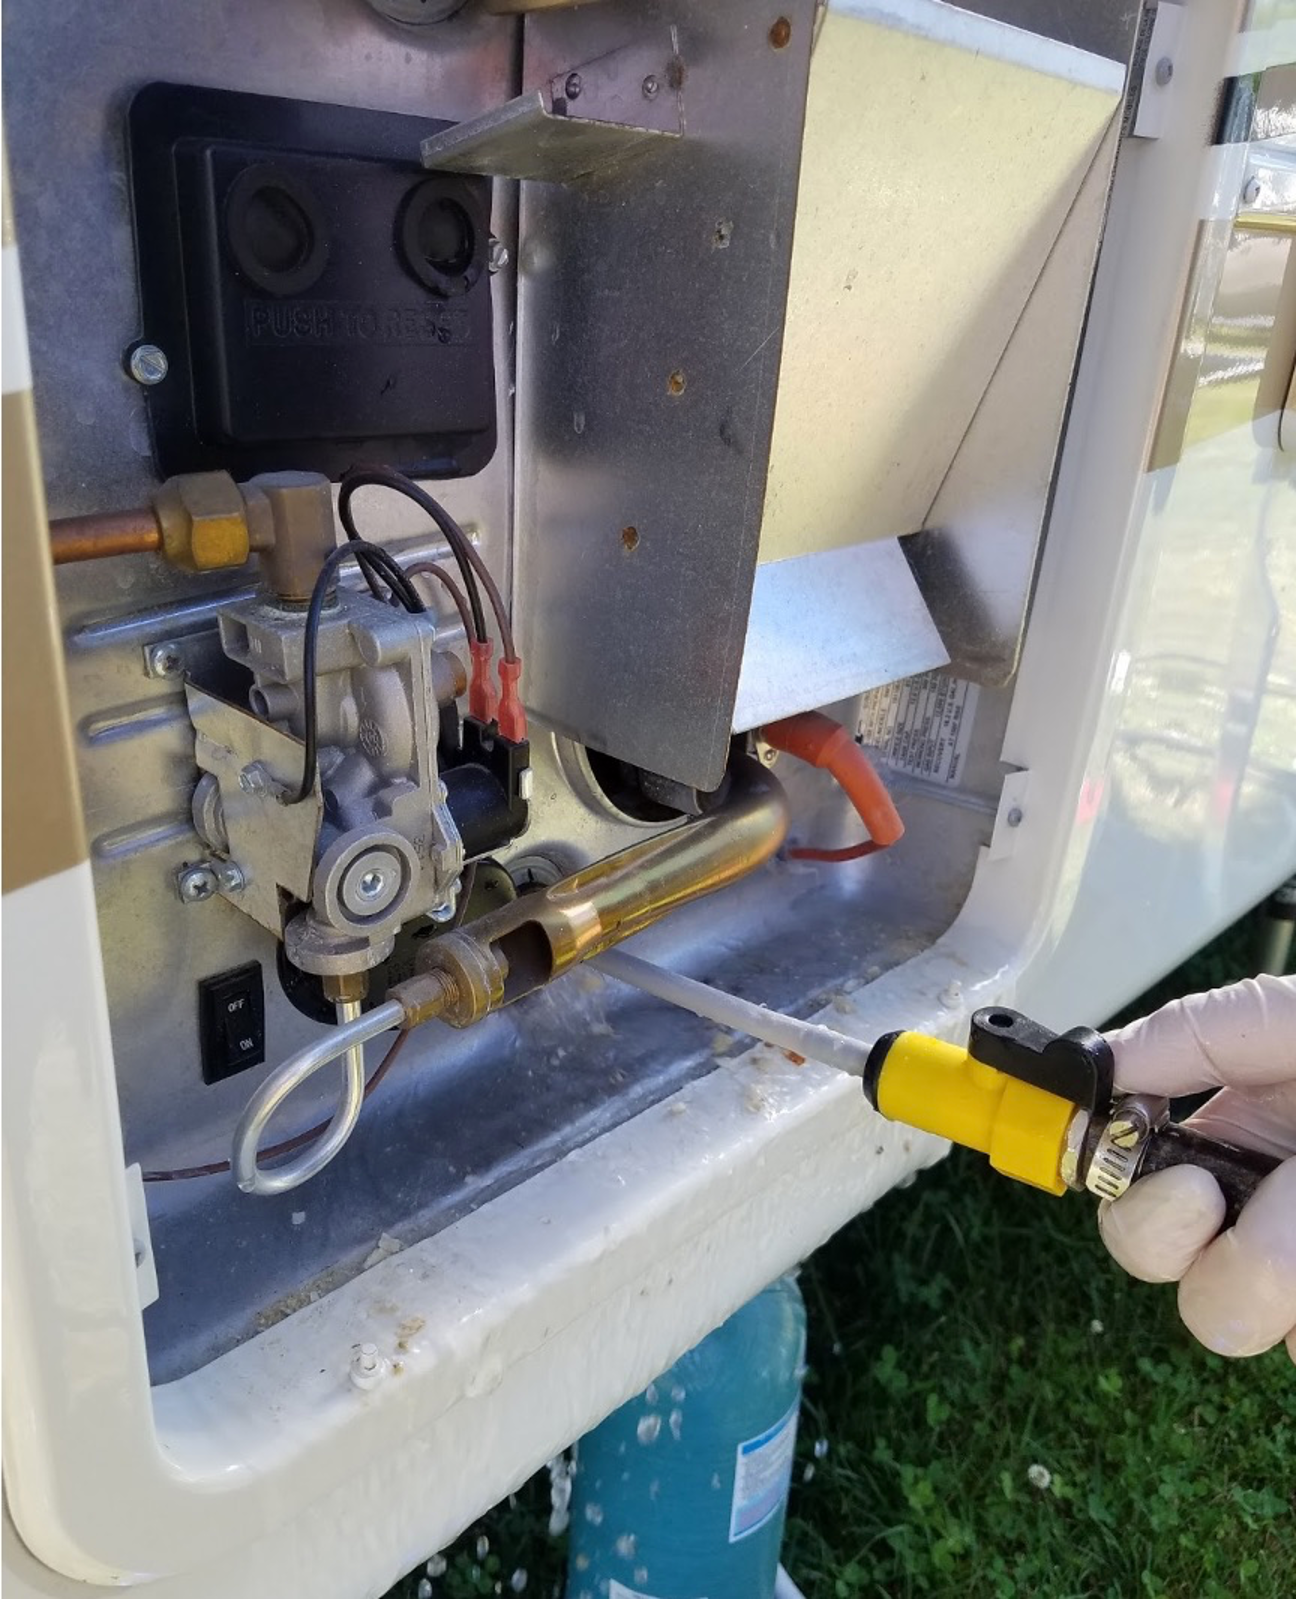
- Thoroughly flush and clean out your hot water tank and water heater
- Use the low point drains to empty the fresh water tank.
- Flush thoroughly and empty the waste tanks completely.
- Flush and completely drain the water lines for toilet(s) and refrigerator.
You can do one of two things for your freshwater system. You can either add RV antifreeze to the freshwater system or evacuate the air from the lines to prevent them from freezing, cracking or breaking. We always recommend reading your system’s maintenance manuals to ensure correct procedure and to not void the warranty of your Heartland or components.

Check out our blog on RV Tank Cleaning and Maintenance
Electrical System
Your fifth wheel’s or travel trailer’s electrical system also needs attention during your RV winterization process.
Your RV batteries are expensive and their life can be greatly extended through proper care and maintenance. Your camper’s batteries are subject to freezing temperatures so you’ll need to remove them from your RV and store them in a warm, dry area on a trickle charger. Should your RV be stored in a climate-controlled warmer environment, you can just keep your batteries on a battery tender.
If you have regular lead-acid batteries, check the fluid level before putting your camper in storage. Top off your batteries with distilled water to the appropriate level if necessary. In doing so, this will ensure the batteries are fresh and ready to reinstall when you pull your camper out for the Spring camping season.

Don’t forget to turn OFF the battery switches and turn OFF the inverter if you have one installed.
Lubricate
Lubricate every moving part in and on your RV before putting it in storage mode. Use spray silicone to lube all door locks and the legs of your level up system. Use dry graphite spray to lube the hydraulic slide mechanisms. Top off your unit’s hydraulic tank if necessary. Likewise, you’ll need to run your generator and change the oil. Lastly, check the hoses and connections around the tank and pump for leaks and weeping fluid. Your RV winterization process is almost complete!
Now, let’s do your walk-around to make sure your RV winterization has all its T’s crossed and I’s dotted.
Final Inspection
Conduct a complete walk-around of your RV exterior. Here’s a quick checklist to help you not miss anything:
- Ensure the propane tank valves are CLOSED for storage
- Cover the tires of the RV to prevent damage from UV rays and to mitigate degradation and dry rot
- Check to make sure every cargo door is locked or secured
- Make sure there are no tree limbs or branches rubbing on the roof of your RV
- Ensure the television antenna is properly secured
- Carefully coil the electrical umbilical cord that plugs into your tow vehicle and store it inside the pin box of your fifth wheel
- For travel trailers, stow your electrical wires in a sealed plastic bag with a rubber band wrapped around it to ensure no water intrusion
- Place pest deterrent on your fifth wheel’s pin box with the electrical cable to prevent rodents from feasting on the cable.
- Coil your RV’s emergency brake cable and store it behind the wiring on the outside of the pin box so it’s not hanging down or exposed. Low hanging cables place an unnecessary strain on them and their attachment points.
- If your travel trailer or fifth wheel is being stored outside, we recommend putting a lock on the fifth wheel pin or travel trailer ball hitch.
We hope these RV winterization tips help as a guide and reminders of how to winterize your fifth wheel or travel trailer. Be aware, this list is not all-encompassing. There may be other items specific to your RV’s setup or personalization that you’ll need to do. We would recommend consulting your manufacturer’s owner’s manual and/or service department before undertaking any winterization procedures. Consulting an online owners forum, such as the Heartland Owners Club, would also be recommended. If you’re not the DIY type, many dealerships offer winterization services. Finally, when you’re all done, put your calendar up and start marking off the days until you can pull your camper out again for the Spring!
This article was written by Dan & Lisa Brown of Always On Liberty.