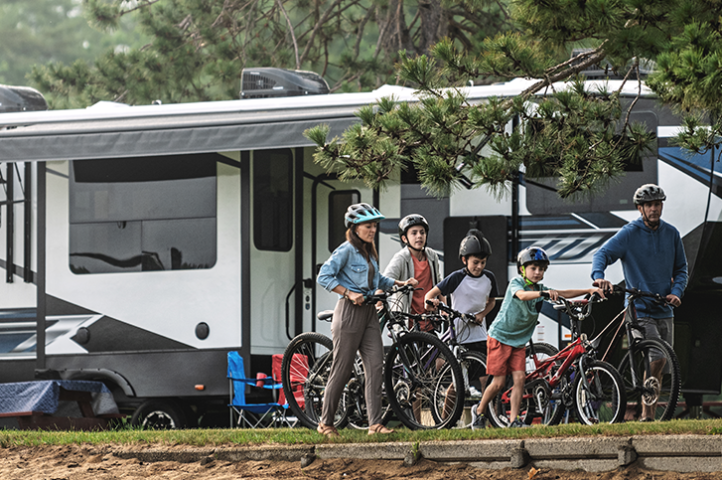
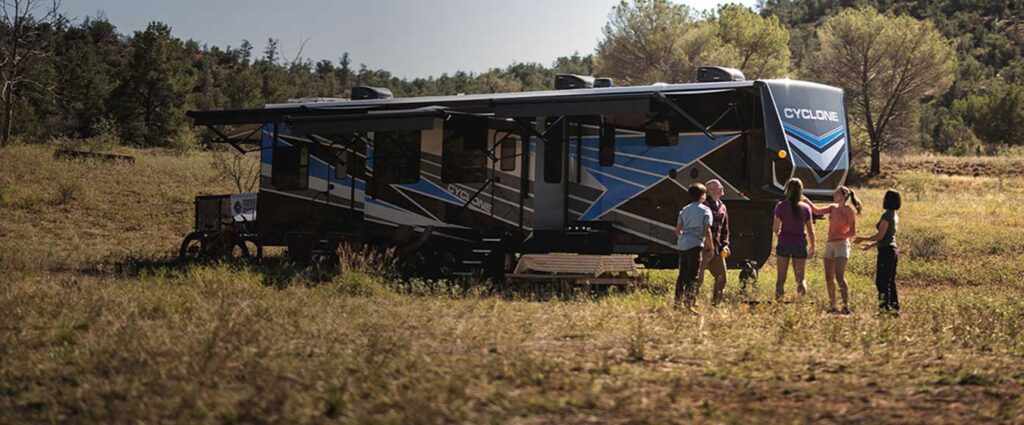


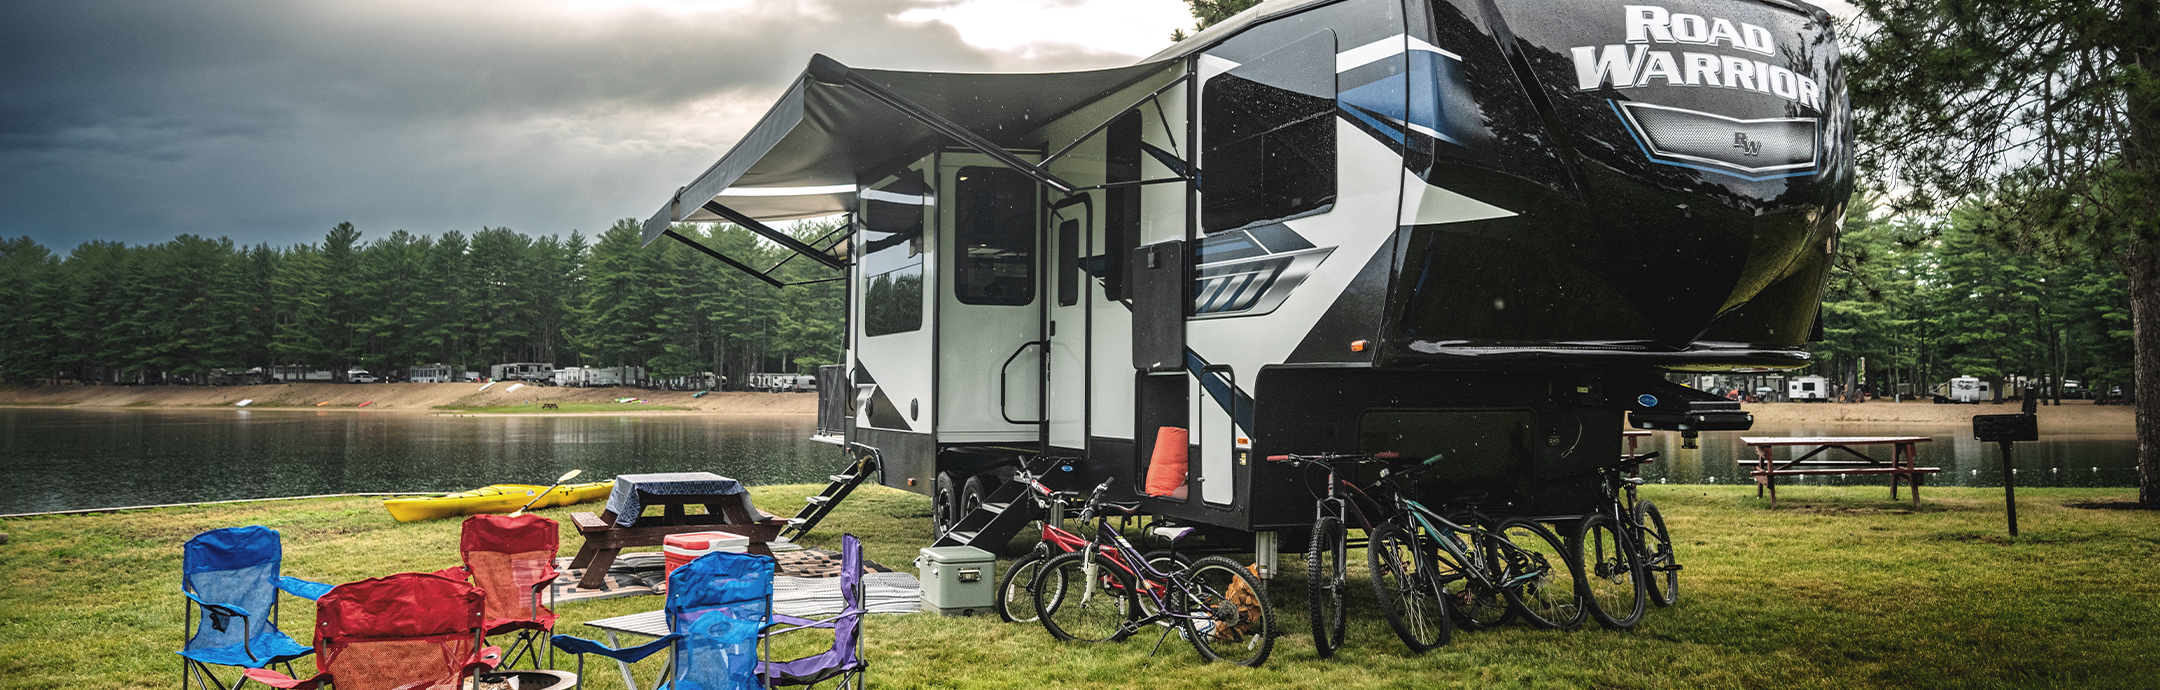
The weather is turning warmer, the sun is shining brighter and it’s time to pull your RV out of storage and get it ready for your summertime travels. Here is what every RV prepper needs to know about how to de-winterize campers.
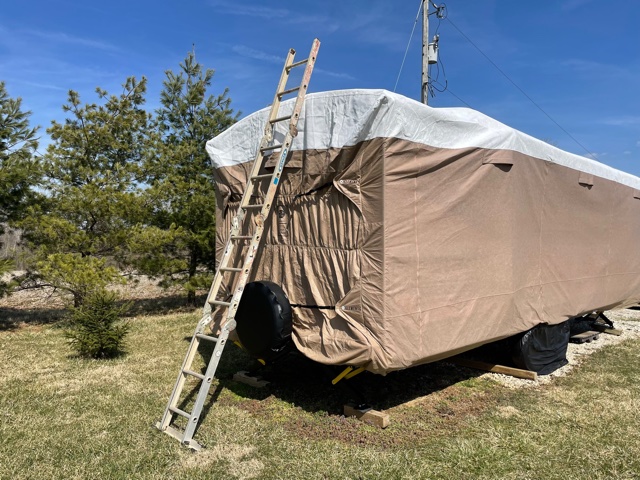
First things first, determine when it is safe to begin de-winterizing your rig. Check the extended forecast, and when you see there will be no more temperatures falling below freezing, you can get started.
GETTING YOUR UNIT READY FOR THE CAMPING SEASON
☐ De-winterization of Plumbing System
Tools needed: Depending on your RV brand and model you’ll need the following.
- Screw gun with square bit.
- 1-1/16 socket
- 3/4 socket
How to: Units with Anderson valve and single lever by-pass valve
- Locate the Anderson valve. Attach city water supply to city water connection and set valve to city. Make sure all fixtures are in the off position. Turn your city water supply on.
- Go through unit and open each fixture one at a time until you have a solid clear flow of water from both hot and cold. Repeat this process for all fixtures including toilets, sinks, outside showers, and spray away systems.
- Locate anode rod or water heater plug depending on the model you have. Inspect anode rod or plug for damage or wear and replace if needed. Install anode rod using tread tape. Thread sealant isn’t needed with plastic plug.
- Locate water heater by-pass and turn to normal once you have installed your water heater anode rod or plug.
How to: Units without Anderson valve and single lever by-pass valve
- Locate your city water supply connection, attach city water supply. Make sure all fixtures are in the off position. Turn your city water supply on.
- Go through unit and open each fixture one at a time until you have a solid clear flow of water from both hot and cold. Repeat this process for all fixtures including toilets, sinks, outside showers and spray away systems.
- Locate anode rod or water heater plug depending on the model you have. Inspect anode rod or plug for damage or wear and replace if needed. Install anode rod using tread tape. Thread sealant isn’t needed with plastic plug.
- Locate your water heater by-pass valves on the back of your water heater, you’ll find three shut off valves, one on the hot supply line, one on the cold supply line and one on a cross over between the hot and cold supply lines. Turn both valves going to the water heater to the on positions. Turn the valve on the crossover to the off position. This should only be done once you have installed your water heater anode rod or plug.
☐ Checking your potable pluming system for leaks
- Once you have de-winterized your unit. Pressurize your water system with city water, leave the water on during this entire process.
- Open each cabinet or access that has plumbing behind them including pass-thru RV storage areas.
- Using a paper towel or similar wipe each connection and check paper towel for wet areas. If paper towel becomes wet give the fitting a slight twist and re-check. Repeat this process for all fixtures including the water pump and water heater.
☐ Checking your wastewater system for leaks
- With all your access panels removed and cabinet doors open, fill your sinks about half full of water. Fill your bathtub about a quarter full or shower base just below the perimeter rails.
- Let water stand for about 10 to 15 minutes. Check around the bottom of your drain connection with a paper towel or similar. If paper towel becomes wet give the fitting a twist and re-check. If just tightening doesn’t solve the issue, contact your dealer or mobile tech service.
- Now that we have completed the fixture test, we want to flood the lines.
- Pull the fixture drain plug and visually check for leaks. Now that you have visually inspected, use a paper towel or like wipe around each fitting. Check paper towel for wet areas. If paper becomes wet, give the fittings a twist. If just tightening the fitting doesn’t resolve the issue, contact your dealer or mobile tech.
- Repeat this process for each fixture.
☐ Disinfecting and sanitizing your potable water system and fresh water holding tank
- Prepare a chlorine solution using 1 gallon of water and 1/4 cup of household bleach (sodium hypochlorite solution). With tank empty, pour chlorine solution into the tank. Use 1 gallon solution for each 15 gallons of tank capacity. This procedure will result in a residual chlorine concentration of 50 ppm in the water system. If a 100-ppm concentration is required as discussed in item 3, use 1/2 cup of household bleach with 1 gallon of water to prepare the chlorine solution. One gallon of solution is used for each 15 gallons of tank capacity.
- Complete filling of tank with potable water. Open each faucet and run the water until a distinct odor of chlorine can be detected in the water discharged. Do not forget the hot water taps.
- Allow the system to stand for at least 4 hours when disinfecting with 50 ppm residual chlorine. If a shorter time is desired, then 100 ppm chlorine concentration needs to be permitted to stand for at least 1 hour.
- Drain and flush with potable water.

☐ Check Batteries for proper voltage and amperage
- Using a multi meter to check for proper voltage 12.6 to 12.8 volts with unit unplugged (Not charging)
- Check that battery is charging properly. Plug unit in and test battery with multi meter. Charging voltage should be between 13.6 and 14.4 depending on how much of a charge the battery already had.
- Have battery load tested. This can be done at most local auto parts stores. This will ensure that the battery has the amps needed to run slides and hydraulic leveling systems.
☐ Check tires
- Check tires for dry rot and cracking. Replace if dry rot and cracking is found.
- Check tire tread area for abnormal or uneven wear. If uneven wear is found, have suspension inspected for worn or damaged parts before replacing tires
- Check for proper air pressure. You will find the proper inflation printed on the side of the tire.
☐ Check brakes and wheel bearings
- Brakes and wheel bearings should be inspected and serviced by a professional service provider.
- This service should be completed every 12 months or 30,000 miles whichever comes first.
☐ Check appliances for proper operation
- Turn on LP (liquid propane). Walk in and around unit looking for the odor of LP. If the odor of LP is not detected proceed to #2. If LP odor is detected check that LP bottle for tight connections, check to make sure all other LP appliances are turned off. If odor is still detected after you have followed the above steps, contact your dealer or mobile service provider.
- Light each stove burner and oven burner, flames should be blue, if yellow you will need to have it serviced by your dealer or mobile service provider. It may take a few tries to light after sitting over the winter.
- Open water heater door inspect burner and burner chamber for debris, rodent nest, or damage. Clean out if needed and proceed with lighting instructions. Inspect for blue flame; if yellow, contact your dealer or mobile service provider.
- Remove outer furnace cover and inspect for debris and rodent nest, clean out if necessary. Replace cover and follow operation instructions. If furnace fails to operate, contact your dealer or mobile service provider.
☐ Check and lube slide out mechanisms
- Inspect for chipped or missing gear rack teeth.
- Inspect for worn or damaged parts.
- Run slide out and listen for squeaks and squeals.
- Lube using a dry spray lubricant product like CRC with PTFE.
☐ Check slide operation and seals
- Slides should run even and smooth.
- Check slide seal with slide in the closed position, bulb seal should have a minimum of 20% compression.
- Check wipe seals for contact on the slide end walls. Wipe seals should make full contact and be slightly cupped.
- Check seals for wear, tear, cracks, or other damages.
- If seals are sticky, use talcum powder or baby powder on the seals to help lube and keep from sticking to slide moldings and walls.
- If slides are out of adjustment or need seal replacement, contact your dealer or mobile service provider.
☐ Check and lube stabilizer jacks
- Inspect for loose, cracked, bend or other damages. Replace if damaged.
- Using a dry spray lubricant product like CRC with PTFE, lubricate all moving parts.
☐ Check safety equipment and ladders if equipped
- If equipped with a ladder. Make sure ladder is secure to wall and roof, ladder rungs are tight and there are no cracks or damage. Replace if cracked or damaged.
- Check that the fire extinguisher is secured in place and in working order.
- If fire extinguisher more than 10 years old, replace.
- Make sure all emergency escapes are in working order and accessible.
- Make sure breakaway has lanyard attached and is I working order. To check breakaway, with unit attached to tow vehicle and without bargman cord attached, pull lanyard, with lanyard pulled try pulling unit forward. If the breakaway in functioning properly the unit will be hard to move. Replace lanyard back to its original position. If this test fails, contact your dealer or mobile service provider.

☐ Clean and inspect roof
- Using a mild mix of soap and water and a medium bristle brush and scrub roof and components, rinse as you go. Make sure to pay extra attention to your component sealant, looking for voids, cracking, and peeling. This should be done up to four times a year.
- If mildew is present, use bleach or Tilex and follow the instructions #1.
- If you find voids, cracks, or peeling sealant. Clean up all loose or peeling sealant.
- Wet a cloth with isopropanol alcohol and wipe down sealant. This will give the new seal a clean area to stick to. Sealant can be purchased from your local deal, online or through Heartland.
For more information on cleaning and care visit Dicor’s website here.
☐ Wash and wax
- Wash and wax the exterior of your unit to protect the finish. This should be done at least two times a year.
- While washing your unit, this is a great time to inspect for cracked, peeling and or chipping sealants.

☐ Resealing your unit
- Once you have washed your unit and identified cracked, peeling and or chipping sealant.
- Use a plastic glazing stick to clean out the bad areas of sealant and reseal with the proper sealant. Learn how to reseal and where you can purchase the proper tools for the job here.
HAVE YOUR RV DE-WINTERIZED PROFESSIONALLY
After reading this, you might think it would be a good idea to let a professional do this RV step for you. Getting your RV de-winterized by an RV dealership can be timesaving, and it is hassle-free. They will check out your RV for any issues that popped up over winter.
RV dealerships will do a multi-point inspection during a de-winterization and check everything from wheels to the top of the roof to ensure everything is as it should be before hitting the open road.