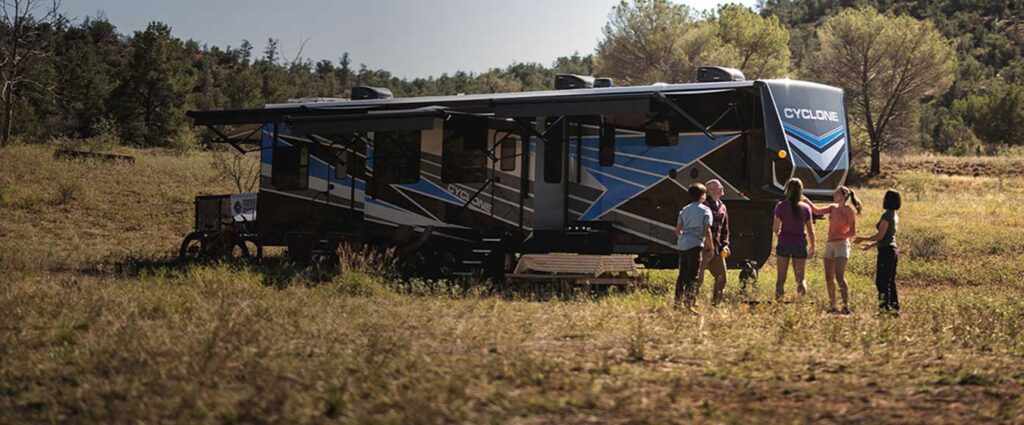

When we first saw the floor plan of the Heartland Cyclone 4006, we knew it was the perfect fit for our large family. We have five children and a dog, so we knew we wanted a toy hauler to grow into. We loved how much space was in the main living and kitchen area of this unit, and knew we could make it work for our family. Since purchasing, we have been full timing in our 4006 for over two years now.

One thing that we noticed over time was how the kitchen was a bit small for all the meals we cooked and how there was open space on the other side of the kitchen. I started dreaming of opening up the whole space with lots of counters and bigger residential cabinets. My husband said it was impossible to remove the existing cabinets because of all the stuff that is hidden within them, but I took it as a challenge. He said if I could figure it out, we could do it.

At the end of March, when he was working, a friend of ours came over and helped me rip out all of the upper cabinets. This was actually fairly easy. A big thing that I love about Cyclone is how well lit they are on the interior. We removed all of the lighting that sat within the cabinets and just installed them into the ceiling so we would still have tons of light with them gone. Next up, we demoed the bottom cabinets. This was a bit more challenging as our furnace, water heater and drain for the washer/dryer connection was all hidden within the bottom cabinets. We also had to remove our gas cooktop and stove. Thankfully, our friend that was helping us knew how to cap off the gas. This was actually a fairly simple process and we were happy to switch over to the Furrion electric induction cooktop and a steam oven from a European company, F. Blumlein.
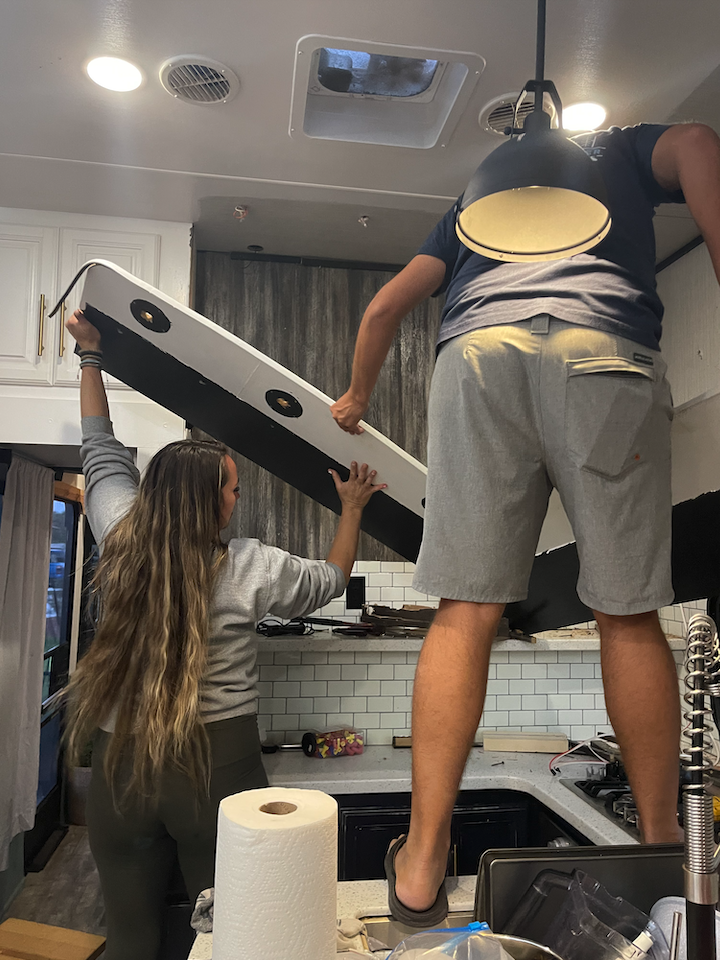
I knew moving the existing water shut off and moving everything back towards the wall was more than what Brentt and I could handle so we decided to hire this out. We hired our good friend Joshua Sherer, also known as Road Worthy Rv, who is an amazing RV tech and has done several modifications for other rigs to handle this. He did an amazing job and honestly without his brain and knowledge we wouldn’t have pulled this off. He moved our water heater, shut off valve, cut out hundreds of feet of extra wire and plumbing and cleaned it up so that it gave us the max amount of space within the cabinets.
We chose to remove the existing flooring in this unit – for weight purposes and you don’t want to have flooring higher than your slides. My best suggestion for new flooring is to choose a floor that is 5mm or less. We purchased ours from Floor & Decor and it was extremely easy to install. Our next task was installing the cabinets. This proved to be VERY challenging, but thankfully with Josh’s help and skill we were able to get them installed. The biggest challenge was modifying the backs of the cabinets to fit around the drain for the washer/dryer and our new Furrion dishwasher. We also had to account for the water heater and furnace that are directly under the sink. We do not have any storage under this cabinet but we really don’t need it with all of the other cabinets. The cabinets we opted for are from Cabinets to Go because they are easy to assemble and easy to modify. They are also very lightweight. We were able to install the following:
1 – 36″ sink cabinet
1 – 18″ set of three drawers
2 – 24″ cabinets with top drawer
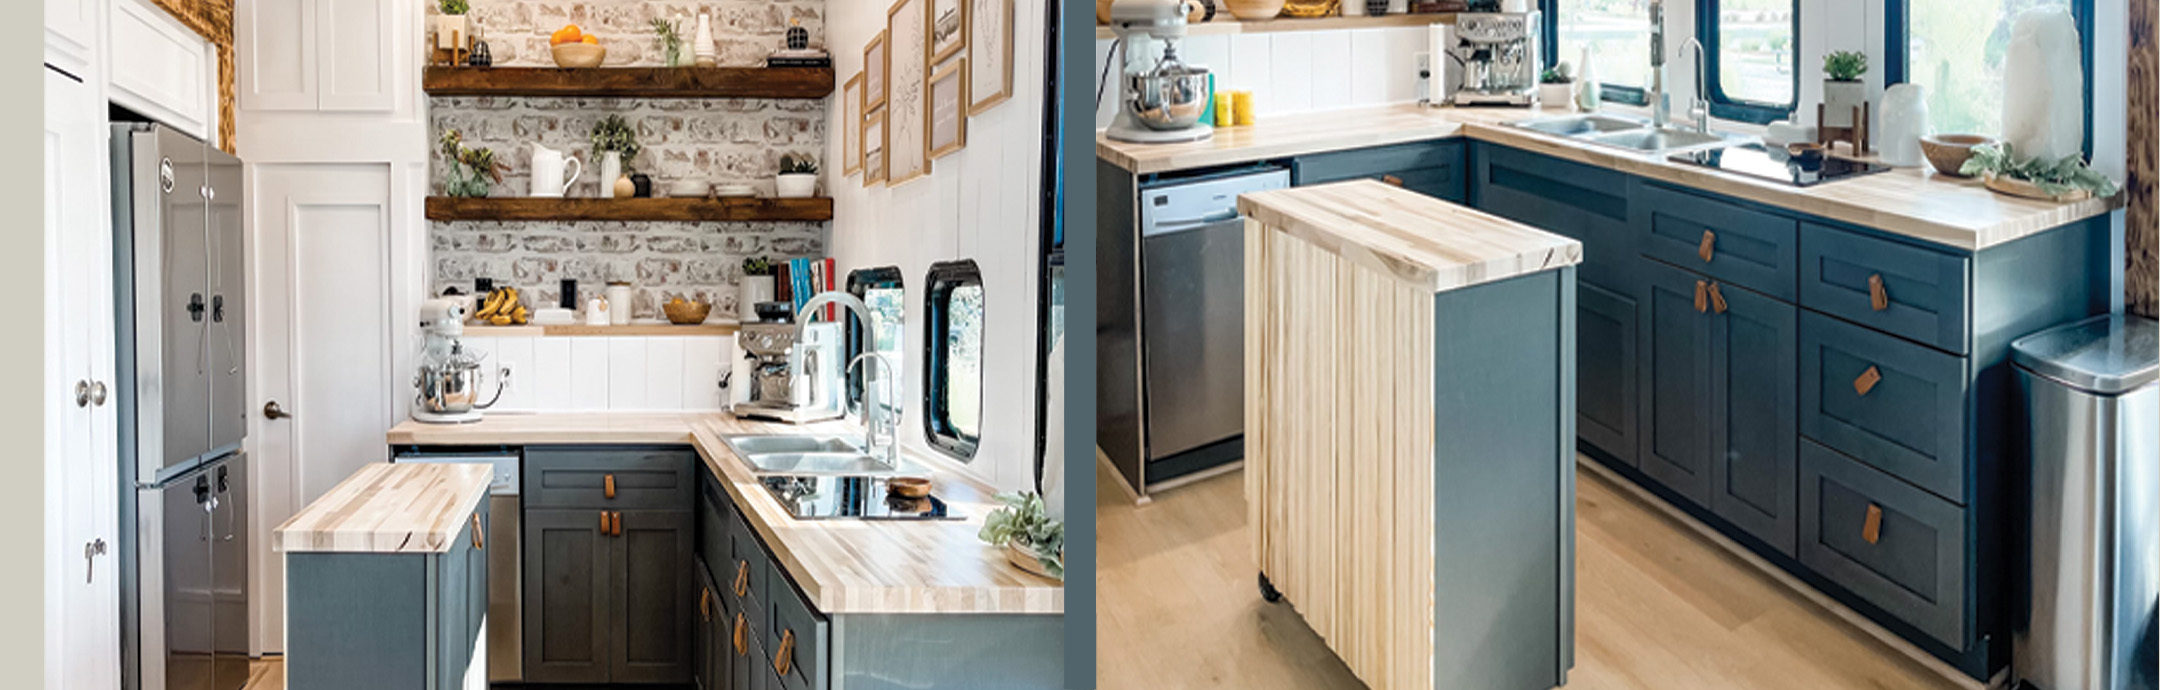
We also wanted a versatile island that could be moved. We used one, 36” wall cabinet and added heavy duty rolling canisters to the bottom. This holds all of our cups, plates and bowls. I opted for an option kitchen with no upper kitchen cabinets because it really opened the space up and made it feel so large. Most people think that we lost valuable, usable cabinet space, but this is not the case. Most of the cabinets we removed were no deeper than 10.” We were able to get residential cabinets that are more than twice as deep and big deep drawers. Everything we pulled out of the original cabinets, fit back into the new ones easily.
After our cabinets were leveled and installed to the wall, we needed to add countertops. The countertops were probably the biggest expense as we had to purchase two, 12-foot long butcher blocks and one 8-foot long butcher block for all the surfaces, including our island and the shelf on the wall. We had absolutely no idea what we were getting into and again, are so grateful for friends. Our friend Weston and his wife Karlee have renovated several RVs and knew exactly how to match the seams of the butcher block and it looks flawless! After three days, the countertops were cured and we could finally use a kitchen after five long weeks of renovating.
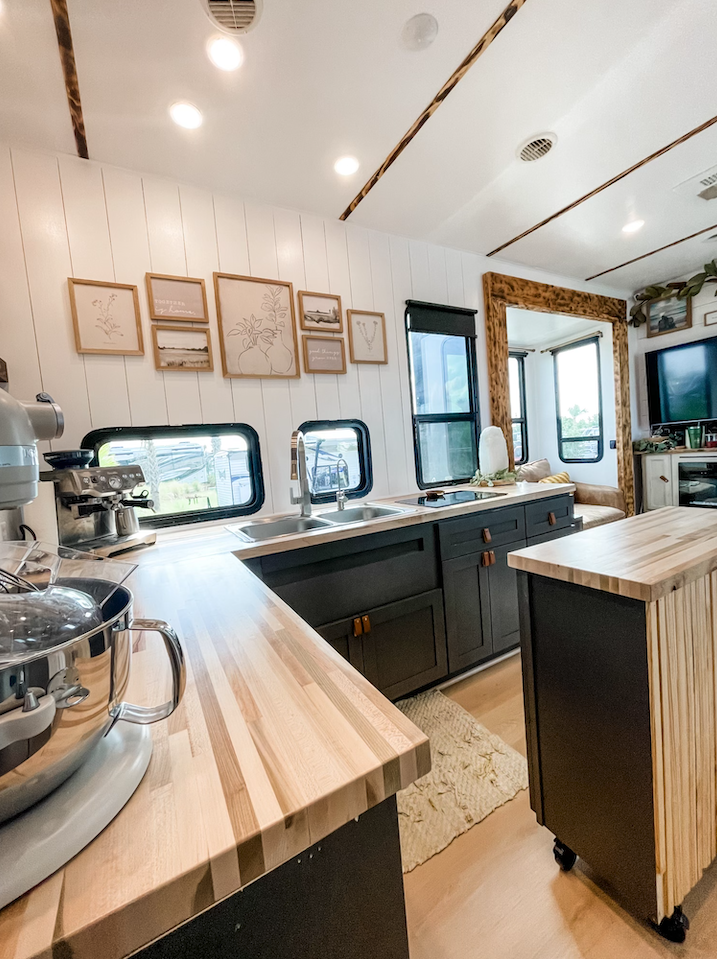
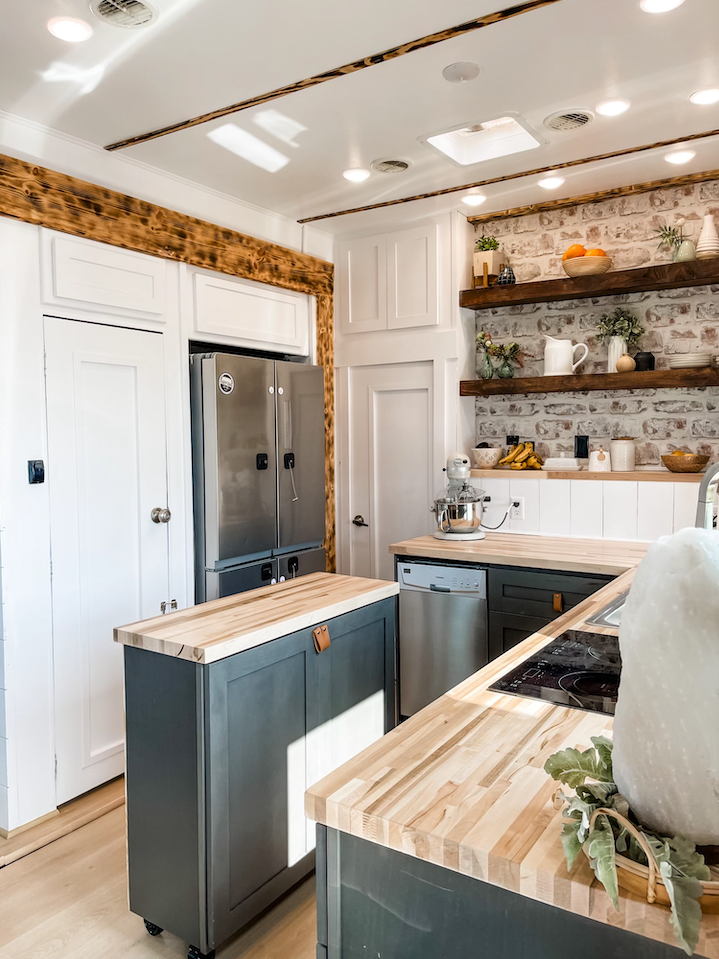
The final touches were backsplash, wallpaper and floating shelves. I wanted vertical shiplap on the wall with the windows because I loved how it added height to the space. This is a cheap and simple way to add character to a space. All you need is a sheet of the thinnest plywood at Home Depot or Lowes and have them cut it into 6” strips. Use a nickel while installing in between the boards and then paint – super easy! I also wanted some dimension on the back wall of the kitchen so I chose an easy to install peel and stick brick wallpaper. Then my husband built some beautiful floating shelves for decorations and that’s it!
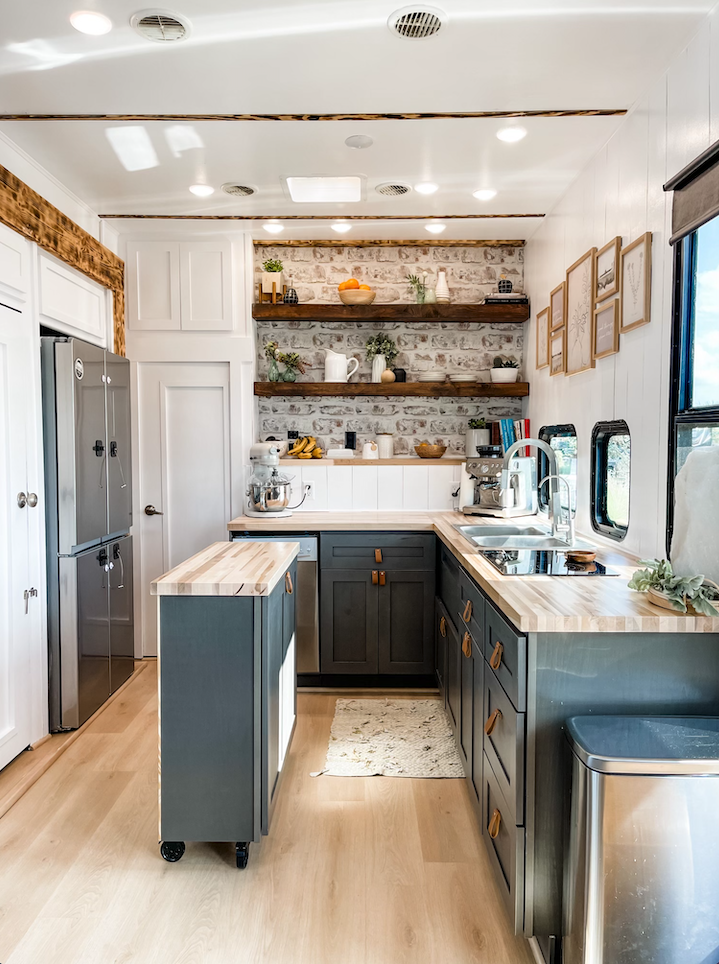
Our new kitchen is by far my favorite part of the rig. Our entire family can be in there cooking and making meals. We also love our new dishwasher that is used several times a day. We have hosted several friends and have had up to 20 people in our RV comfortably. We have plenty of counter space for my Kitchen Aid and Breville Coffee Machine and then some. Overall, I am so glad we did it. Even though we encountered some unknown challenges, this space fits our family so much better now.
All links for what we used is below:
Cabinets in Hampton Pewter – https://bit.ly/3mNIvDK
Flooring in Somerville Wheat – https://bit.ly/3MNWgNB
Countertops in American Maple – https://bit.ly/3O9gmCW
Induction Cooktop – https://bit.ly/3xLbnCZ
18″ Dishwasher – https://bit.ly/3HluAhG
Leather Pulls – https://amzn.to/3H2N3zH
Brick Wallpaper – https://amzn.to/3NMV5yY
F. Blumlein Steam Oven – https://amzn.to/3NCgNG6