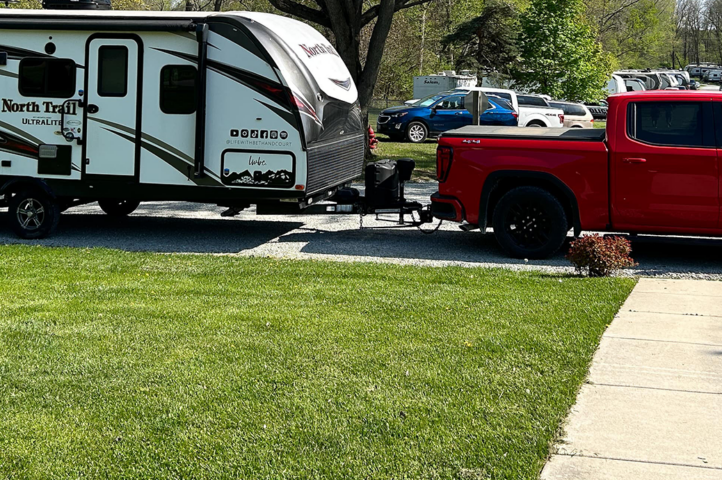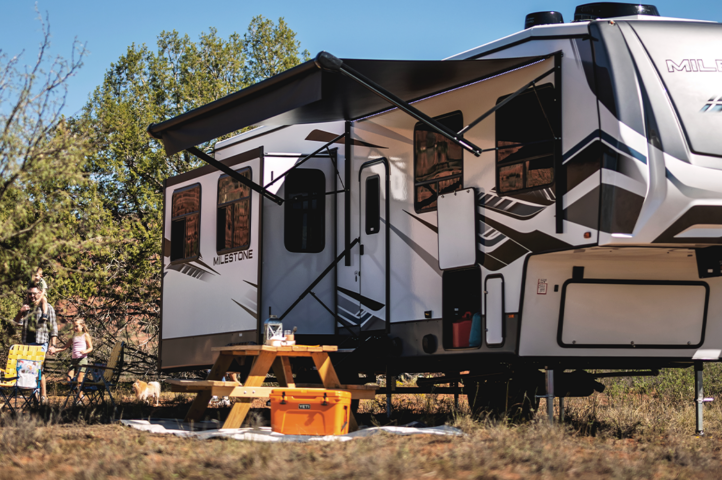


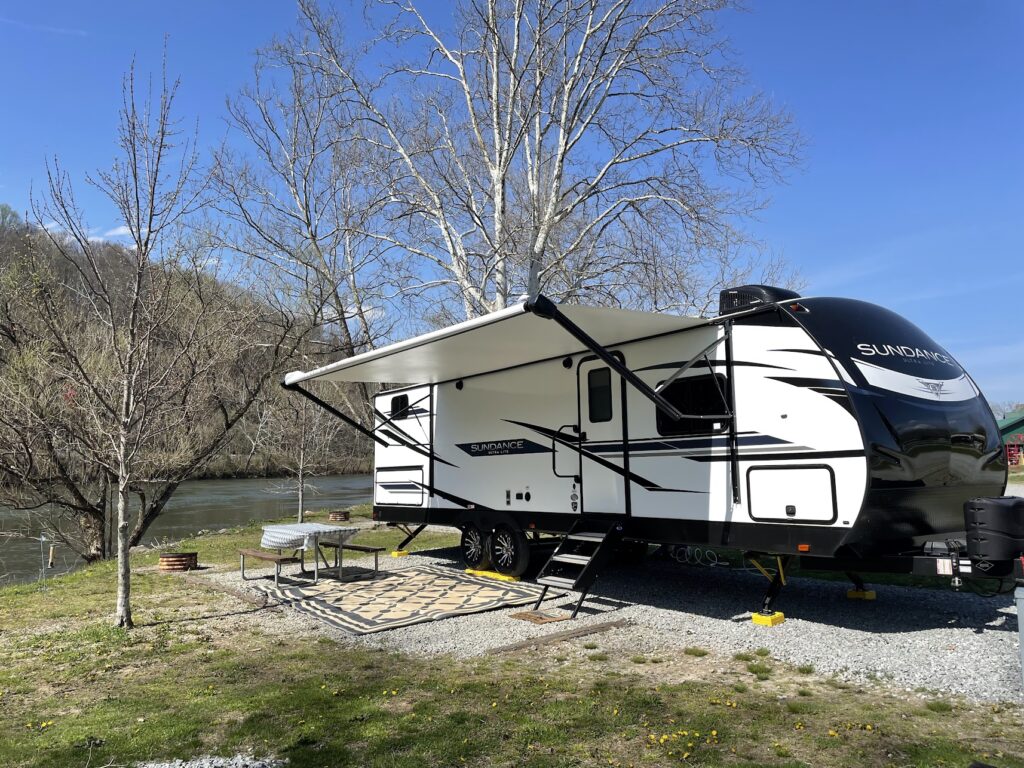
Wherever you go, setting up your campsite correctly is crucial for keeping your RV in good working order for years to come. One of the most important skills to learn is how to properly level your RV, and it can seem intimidating at first. So we’re sharing several tips and tricks to make it as painless as possible, even on less-than-ideal surfaces.
Why You Need to Level Your RV
Leveling your RV isn’t just a matter of comfort. It’s critical to ensure all your RV components and appliances work correctly, to prevent damage to the exterior of your coach, and to keep you safe and secure where you’re parked.
Stability
An uneven RV is an unstable RV. When you get in and out of the coach, you’ll put a lot of pressure on the parts of the trailer that aren’t supported correctly, which can cause wear and tear, even warping parts of the RV that are taking more than their share of the weight. Stabilizing your camper distributes the weight of the coach to the elements designed to handle it.
Appliances and Systems
You might not realize this, but many of an RV’s amenities require a level surface to work. Refrigerator and air conditioning coils won’t cool correctly if the coach is tilted, as they rely on gravity to work. Without leveling, your food could go bad and your AC might not cool you down.
Slides also need a level surface to extend and retract evenly and seal properly, or else some components could fail. And if your coach isn’t level, your holding tanks with monitors might also display incorrect information. For example, your black tank monitor might tell you that it needs emptying when you know it’s not full. Even simple things like entry doors, cabinets, and drawers can become an annoyance when they won’t stay open or closed because your RV isn’t quite level.
Drainage
Proper leveling also promotes effective drainage into your waste water tanks. When you use the sink, take a shower, or flush the toilet, you want your black and gray water to go where it’s supposed to – and not have to work uphill to get there. We’ll let you imagine the disastrous consequences of poor drainage for yourself.
How To Level Your RV
There are two ways to level an RV – with an electric leveling system, and manually. There are some overlapping steps, but we’ll explain how to do both.
Electric Leveling Systems
Newer or more deluxe RVs often come with electric leveling functions. For example, many of our RVs come with a 6-point hydraulic landing gear and automatic leveling system. These systems take a lot of the work out of leveling your coach, but there are still a few steps you’ll want to follow before you use them. Follow the instructions below, or watch our video tutorial on how to use the electric leveling system on your Heartland RV.
First, make sure you’re parked on relatively even ground. This may be less of a concern on a paved RV pad at a campsite, but if you’re camping somewhere more rustic or boondocking, look for an area that seems close to flat. Never park on an obvious hill, because it’s not safe. When you’ve found a good spot, feel free to get out of your tow vehicle and eyeball your coach to see if there’s an obvious tilt in any direction.
More Steps to Electrically Leveling Your RV
Next, for any remaining uneven ground, use leveling blocks to even up your RV from side to side. Leveling blocks snap together to create the height you need to balance your coach. You just place them on the ground in front of the wheels on the side that needs raising and pull forward slowly until the wheels are on top of them. Then you place your wheel chocks to keep your wheels from rolling and coming off the blocks.
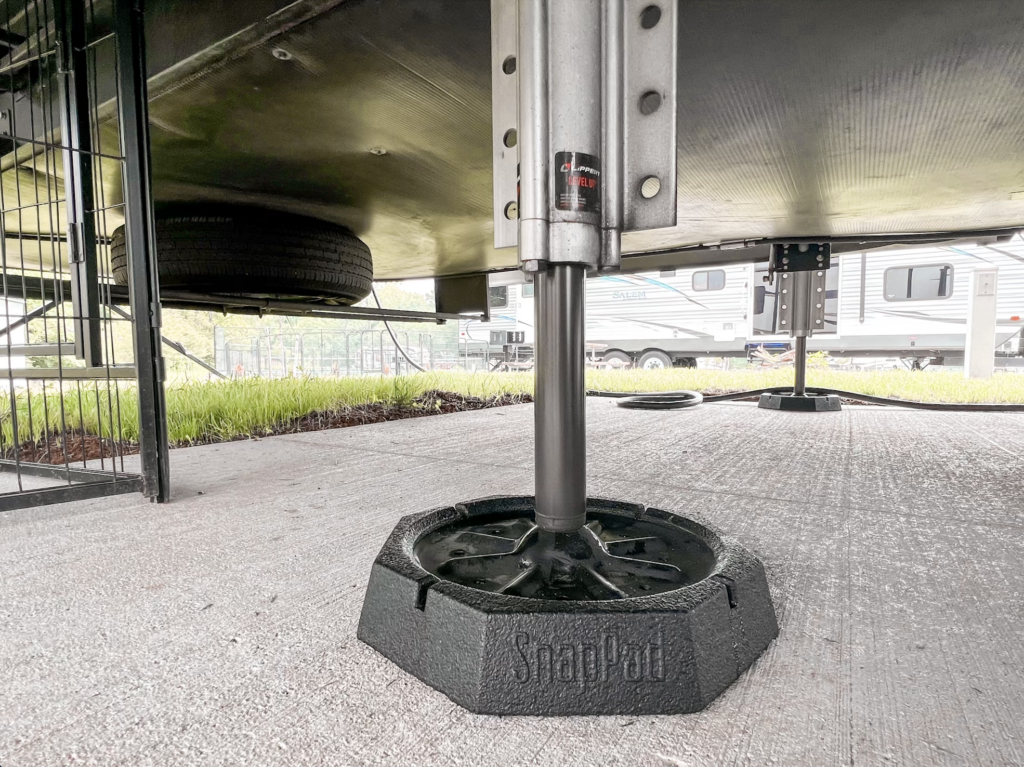
You’ll also want to put leveling blocks or pads beneath the stabilizer jacks, reducing the amount of space these elements need to cover before they make contact with a stable surface. You may be able to adjust some stabilizers by hand with a piece that extends to the length you need. Lower the legs so they’re just a few inches above the ground or leveling blocks.
Now you can engage your electric leveling system. Turn it on and let it raise the front of the coach high enough to detach the trailer from your tow vehicle. Then let the auto-leveler work its magic. Keep an eye on your RV’s components as the levelers adjust to ensure jacks connect squarely with the surface beneath them. Keep an ear out and an eye out for anything that doesn’t sound or look right. Once you’ve confirmed everything is level and secure, kick back, relax, and enjoy your downtime.
Manual Leveling
The beginning processes of manually leveling your RV are the same as when you use an auto leveler.
First, make sure you’re parked on relatively even ground. This may be less of a concern on a paved RV pad at a campsite, but if you’re camping somewhere more rustic or boondocking, look for an area that seems close to flat. Never park on an obvious hill, because it’s not safe. When you’ve found a good spot, feel free to get out of your tow vehicle and eyeball your coach to see if there’s an obvious tilt in any direction.
Next, for any remaining uneven ground, use leveling blocks to even up your RV from side to side. Leveling blocks snap together to create the height you need to balance your coach. You just place them on the ground in front of the wheels on the side that needs raising and pull forward slowly until the wheels are on top of them. Then you place your wheel chocks to keep your wheels from rolling and coming off the blocks.
Now you can uncouple your trailer from your tow vehicle. Set your electric or manual tongue jack to stabilize the front of your RV. Using your bubble level, check the grade of the RV from front to back. Adjust the tongue jack as needed until the length of your coach is level. Then you can set your stabilizer jacks around the rest of the RV to keep your trailer stable while you’re parked. You’ll also want to put leveling blocks or pads beneath the stabilizer jacks, reducing the amount of space these elements need to cover before they make contact with a stable surface. Once your jacks are securely set, you’re all done!
Why You Should Use Leveling Blocks Before An Electric Leveling System
An electric leveling system is a great shortcut to a level RV, but it’s built to fine-tune the level of an RV on a flat surface. It’s not designed to compensate for significantly uneven ground, and using it that way can damage your electric leveling system. Luckily, it’s simple to make up for a few inches of difference in surfaces with inexpensive leveling blocks that easily snap together, or a tool like the Andersen Camper Leveler, which uses a curved wedge in place of blocks.
Other Tools To Use Make Leveling Easier
We’re so glad you asked. If you don’t have an electric leveling system, there are devices and apps you can buy to simplify leveling your RV. Typically, these devices include a box you mount inside your RV, which communicates with an app on your smartphone. You calibrate the box to your RV, and it tells you how far off level you are when you park. Then the app recommends how many inches to raise your RV and on which side, taking the guesswork out of leveling.
What to Buy to Help Make Leveling Easier
You’ll want a few tools to help make leveling easier:
- An old-school bubble level. Most smartphones also have a level function, but a manual level doesn’t rely on battery power to function, making it dependable in a pinch.
- Leveling blocks or pads. Leveling blocks are sturdy pieces that snap together so you can customize the height you need to level your RV. Pads go under your stabilizer jacks or tongue jack to ensure they rest on a stable surface and don’t sink into soft ground.
- Wheel chocks. You’ll need these to keep your RV wheels from rolling while you’re parked, and they help keep your wheels squarely on your leveling blocks.
- Jack crank handle or scissor jack drill attachment. You’ll use these to raise and lower your jacks. The scissor jack drill attachment fits into your power drill to make quick work of the task, but a jack crank handle is great to have around for when you don’t have electricity or charged power drill batteries.
Common Issues When Leveling Your RV
Most of the time, you’ll level your RV without issue. But there are a few common problems you can head off with proper preparation.
Uneven Ground
Never park at a campsite or patch of land that’s significantly uneven. If you can, look for a spot that’s more level before you set up and level your RV. It’s safer, and it will save you a lot of work and potential headaches.
Soft Ground
Sometimes, the ground may be softer than usual, like grass or soil after rain, or asphalt on a really hot day. This can cause your jacks or leveling blocks to sink into the surface rather than providing firm support. If you keep a few pieces of plywood on hand, you can lay them down to create a broader, more solid surface for leveling.
Insufficient Battery Power / Auto-Level Errors
Automatic levelers run on battery power to operate. If you’re at a full-service campsite, you can hook up your electric connection before you begin leveling to ensure proper power. But if you’re boondocking and low on battery power, or if your auto-leveler has an error you can’t fix, you’ll need to manually override the automatic leveling system and level your RV the old-fashioned way. Here’s a step-by-step tutorial on how to override the electric leveling system in your Heartland RV.
Auto-Level Calibration
Sometimes, your auto-level function can get miscalibrated, causing it to think your coach is level when it’s not. Follow the directions in your instruction manual to recalibrate your system when you’ve leveled your coach by hand, and it should fix the issue.
Now that you’ve got a run-down on Leveling 101, you’re ready to hit the road in your RV. You know how to level, you know what items you’ll need, and you’re prepared for the most common issues you may face. It’s time to go out, find a campsite, get set up, and enjoy the great outdoors in an RV that functions exactly as it should.