
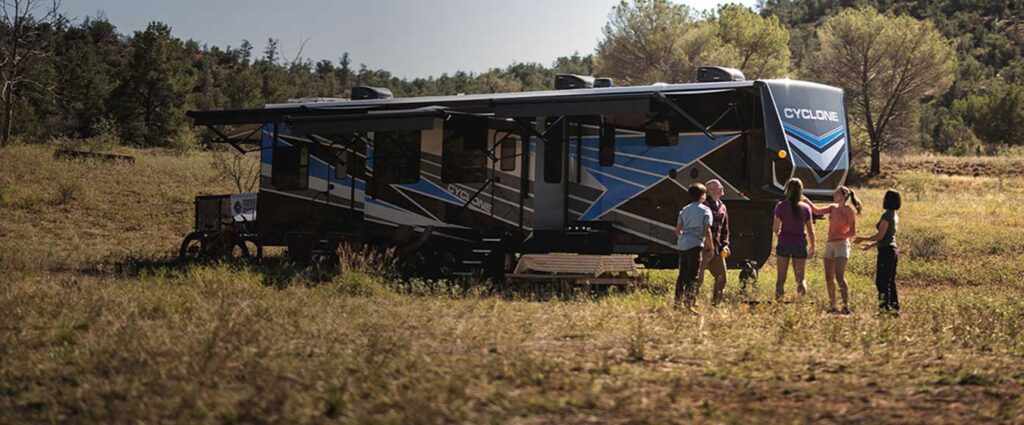


I can’t believe it’s already been three years since we took delivery of our Heartland Landmark 365 Ashland. One of the features that sold us on the Landmark was the beautiful, large, fully-functional RV kitchen. The island creates a more ample food prep surface, and that big single farmer’s sink allows for cleaning large pots and pans. However, one little issue just grated on me that needed to be updated: our kitchen faucet.
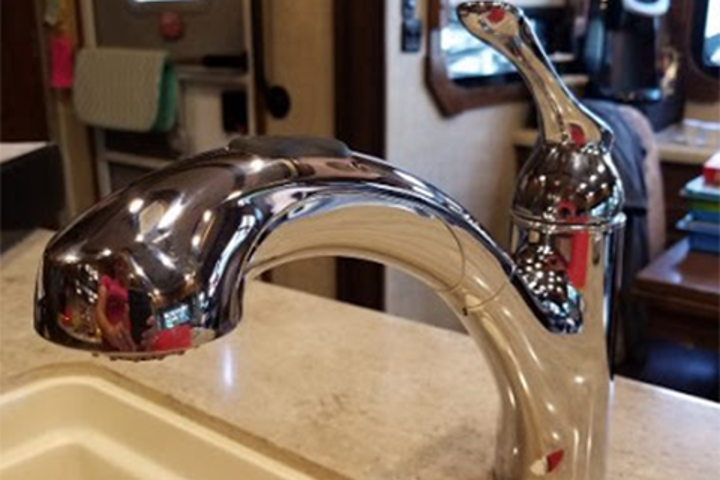
Our kitchen faucet installed by the factory wasn’t a bad or cheap faucet. However, they installed a chrome faucet and all of the cabinet hardware and kitchen appliances (refrigerator and convection microwave) were brushed nickel or stainless steel. (Pssst, they did the same for the bathroom and bedroom sinks too!) Due to me being particular about interior design, we had to make a change.
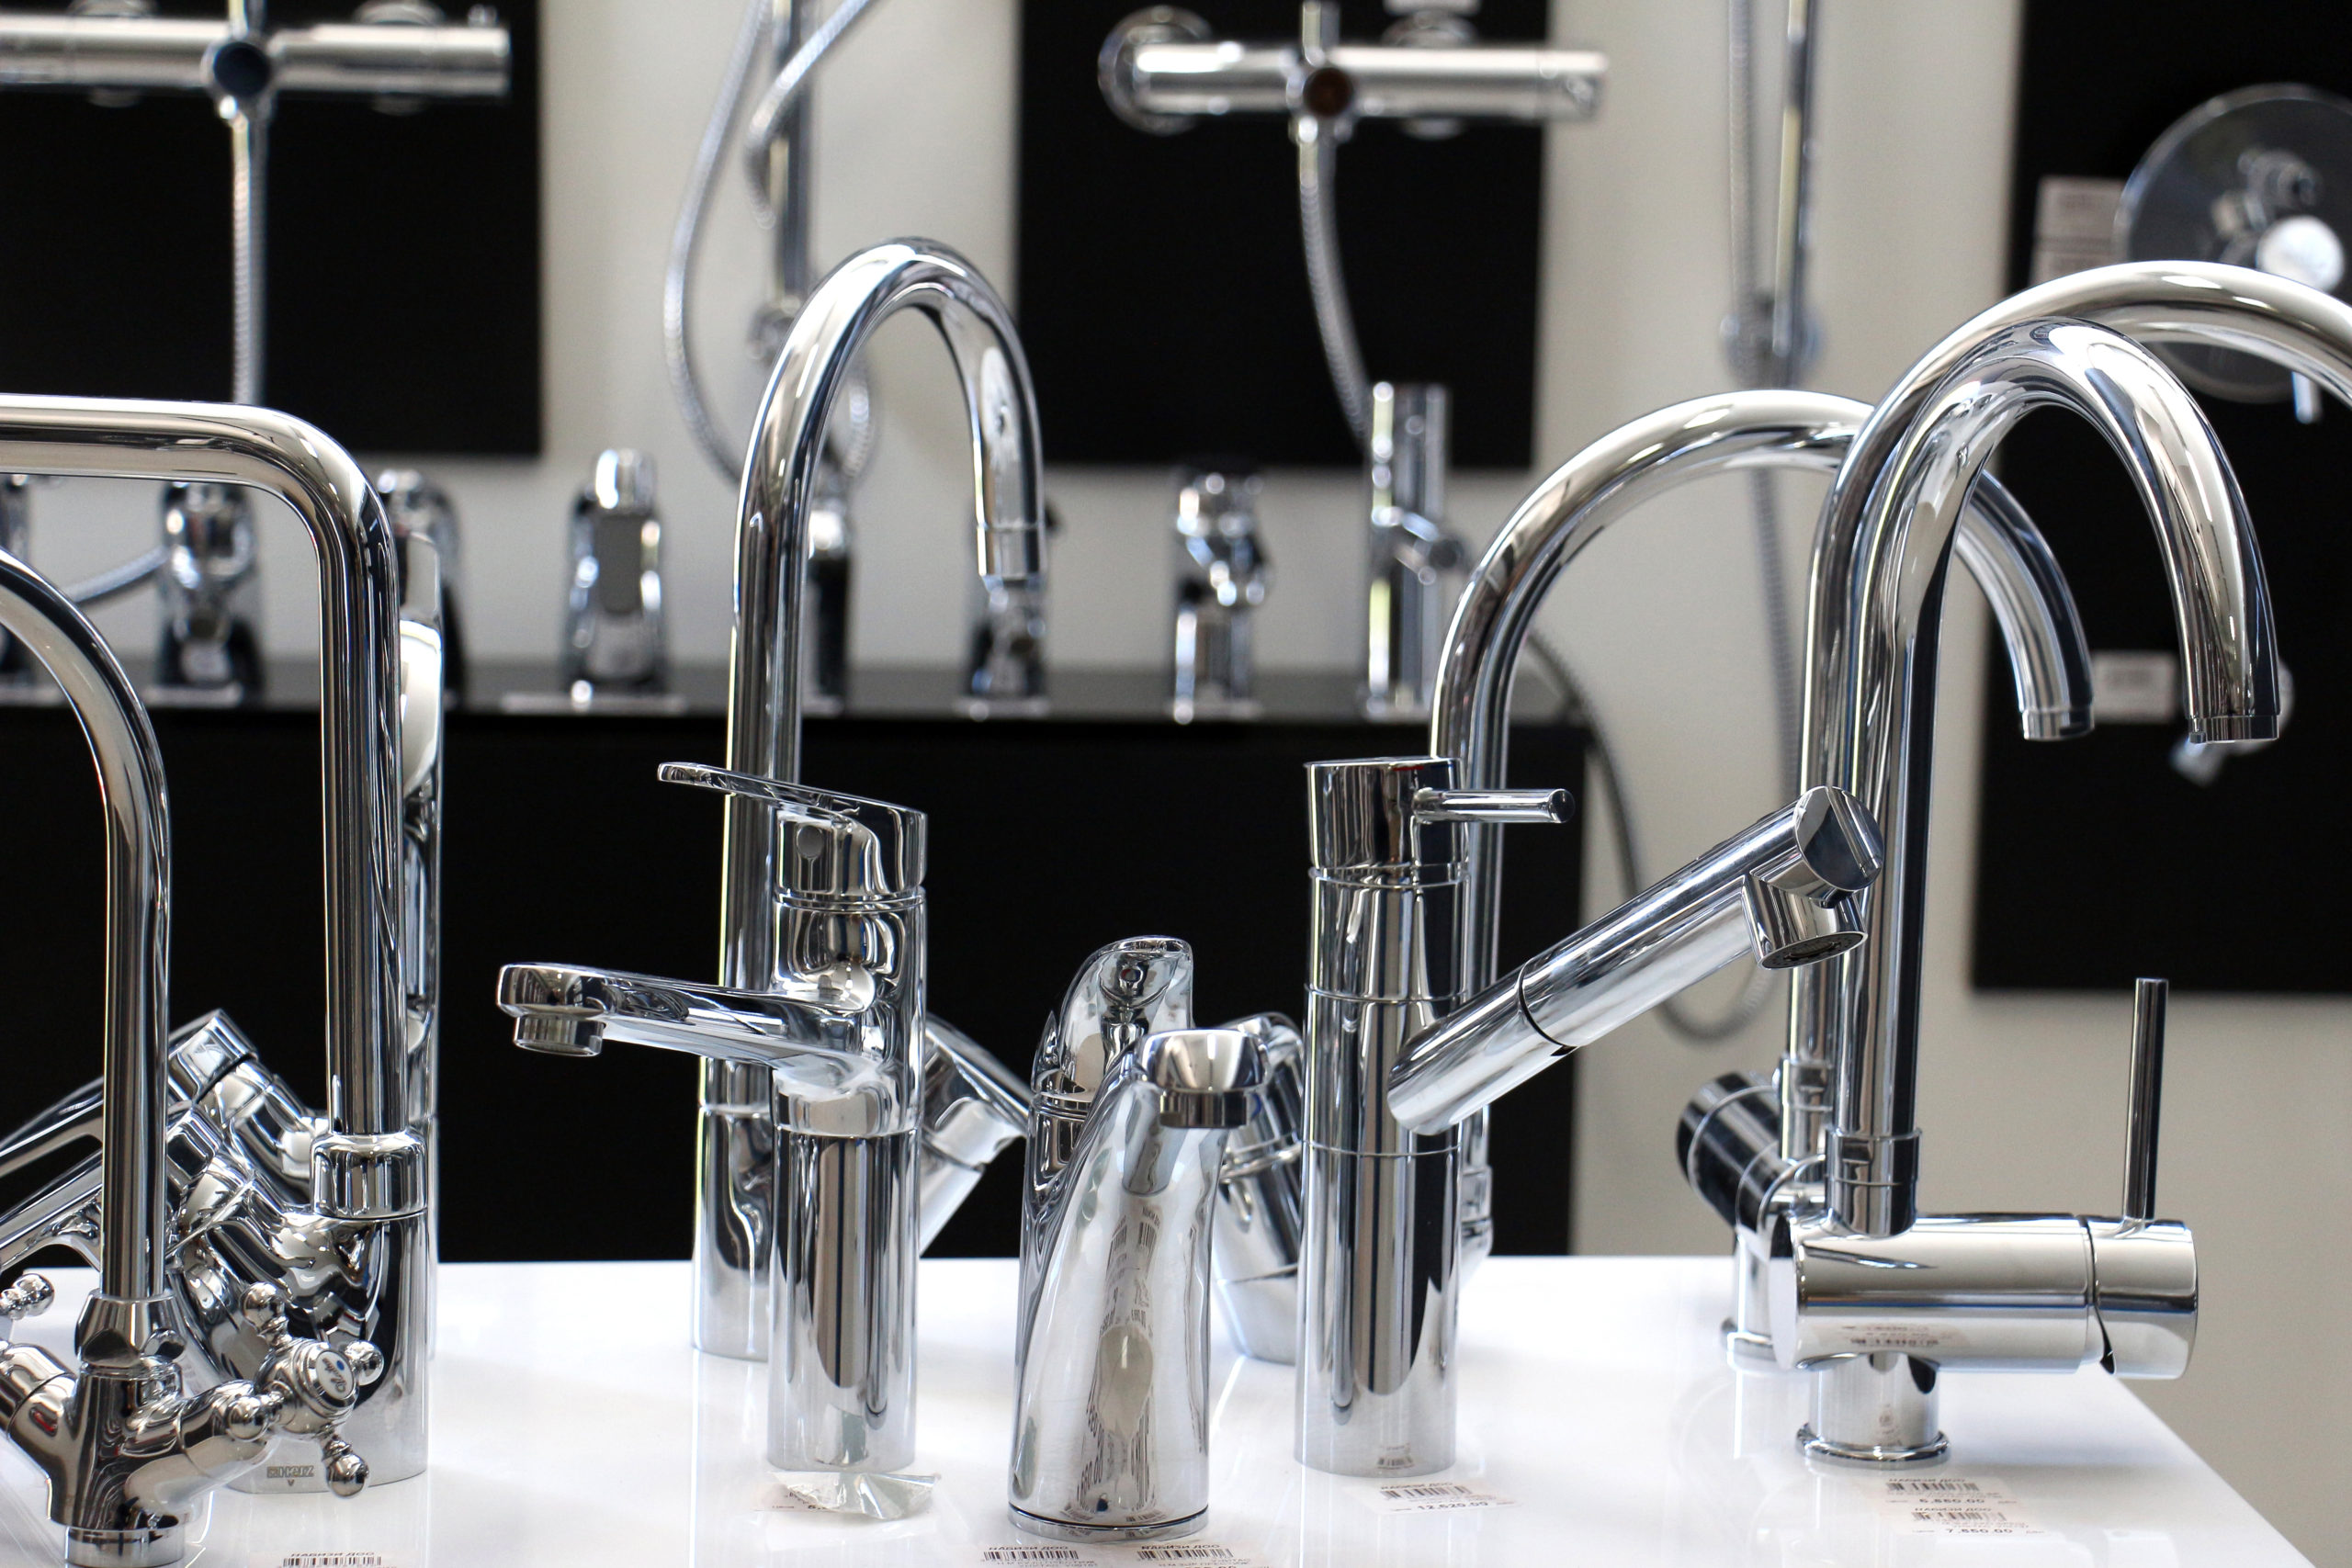
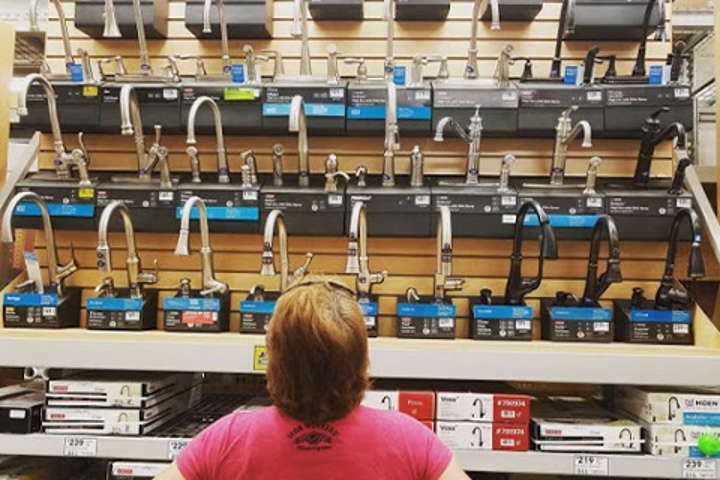
Less than a year after buying our Landmark fifth wheel, we found ourselves shopping for our new kitchen faucet. Dan aimed for quality and manufacturer, while I focused on design and finish.
My kitchen faucet requirements were three-fold:
- must have a pull-out sprayer
- ideally has a gooseneck design to accommodate tall pots
- must have a brushed nickel finish
Once we found one that met both of our criteria, we were within days of using our new kitchen faucet.
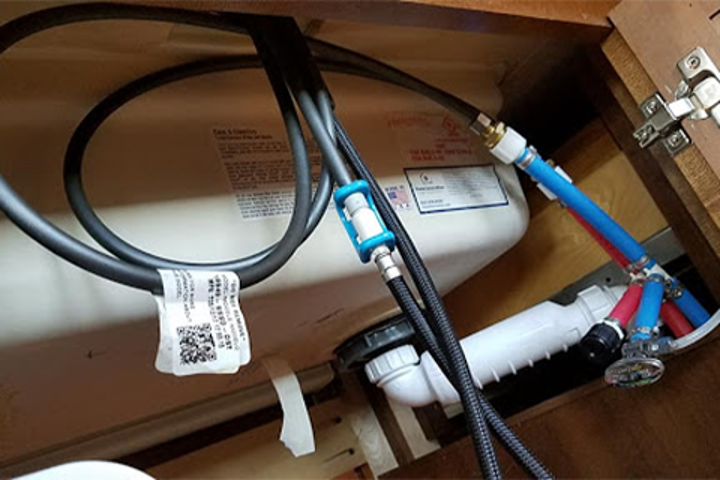
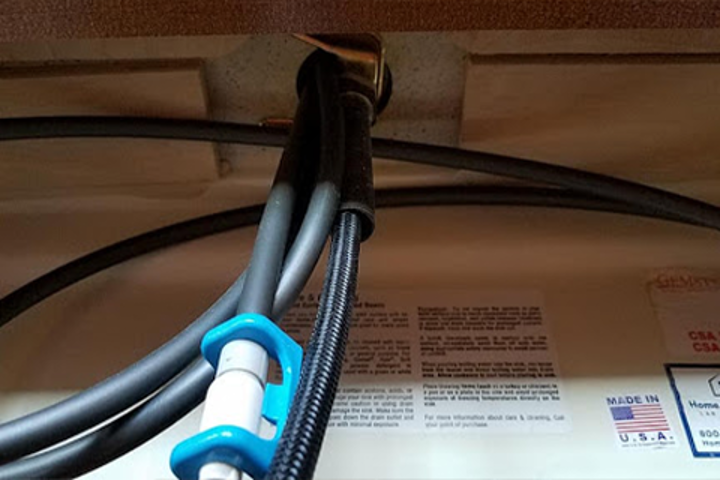
But, before I go on, I want to share one cool manufacturing feature in our kitchen that Heartland configured in their Landmarks. They created a pass-through under the sink so we could access the plumbing on both sides of the island. In other words, there are doors on both sides of the island. This was a genius innovation because who wants to be installing or repairing any plumbing fixtures in contortionist’s positions? It makes it easier to check for under-sink leaks as well.
INSTALLATION:
Before installation, Dan opened and inspected the new faucet – making certain all of the parts were present. Most importantly, he read the instructions.
Step 1:
I emptied the cabinet interior under the sink to make access easier. Dan turned off the water throughout the coach. My job was done – now it was up to Dan to do the actual installation while I took photos.
Step 2:
Dan set out all of his tools to avoid going back and forth to his tool box. For better lighting, he donned his trusty headlamp so I didn’t have to sit and hold the flashlight.

Step 3:
Dan disconnected the original faucet from the waterlines. He also unscrewed the faucet fixture from underneath the counter. Once everything was disconnected, he pulled the faucet connections up through the holes in the counter. He screwed all of the washers and nuts to the old faucet so we didn’t mix them up with the new faucet.
Step 4:
Dan cleaned up the countertop area where the old faucet was installed.
Step 5:
Dan unscrewed all of the nuts and washers from the new faucet and inserted the hose connectors through the hole in the counter. Wait, did I say previously that my job was done? Well, I lied. I was summoned to hold the new faucet onto the counter while he screwed on the washers and nuts on the underside. Once that was done, I was released to take photos again.
Step 6:
He then connected the hoses to the faucet hoses.

Step 7:
Once installation was complete, Dan turned on the water. I was recruited once again to monitor any potential leaks from the new connections and water hoses.
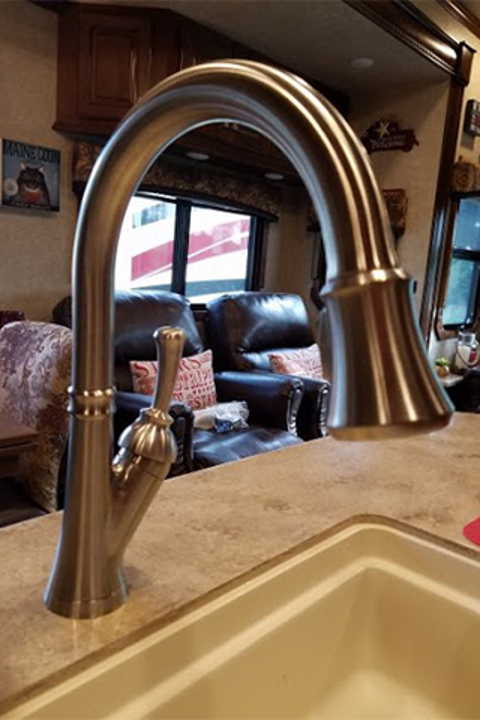
Our Review:
Though we love our new faucet, I see the reason for the initial design of the original faucet. It has a lower profile unlike the gooseneck design kitchen faucet we have now. Because our sink is rather shallow, the gooseneck design creates more splash outside of the sink when using the spray feature. Keep this in mind should you want to replace your RV kitchen faucet. Though they look nice and state-of-the-art, the gooseneck design with its spray feature is more for deeper sinks. But, we’re not complaining. As the Chief Cook and Bottle Washer, its exactly what I ordered.
This article was written by Dan & Lisa Brown of Always On Liberty.